Quick Answer: A 3D printer creates physical objects by building them layer by layer from a digital design. It uses instructions generated by slicing software to guide an extruder, laser, or other tool in depositing or solidifying material until the object is complete.
Unveiling the Layers: What Makes a 3D Printer Tick
At its heart, a 3D printer is a precise, automated tool that follows a digital blueprint to create real-world items through additive manufacturing. Unlike carving or milling, which remove material, 3D printers place material exactly where needed to bring a design to life.

The core components include:
- Extruder and Nozzle: In methods like Fused Deposition Modeling (FDM), the extruder feeds thermoplastic filament through a heated nozzle, melting it just enough to be precisely deposited.
- Print Bed (Build Platform): The surface where layers are deposited; it may be heated to help with layer adhesion.
- Stepper Motors: Tiny, high-precision motors that control movement along the X, Y, and Z axes.
- Control Board: Translates G-code into motor commands and temperature settings.
- Cooling Fans: Help solidify the material quickly to prevent deformation.
From Design to Print: Mapping the 3D Printing Workflow
The journey from idea to object follows a clear path. Here’s the complete 3D printing workflow explained step by step:
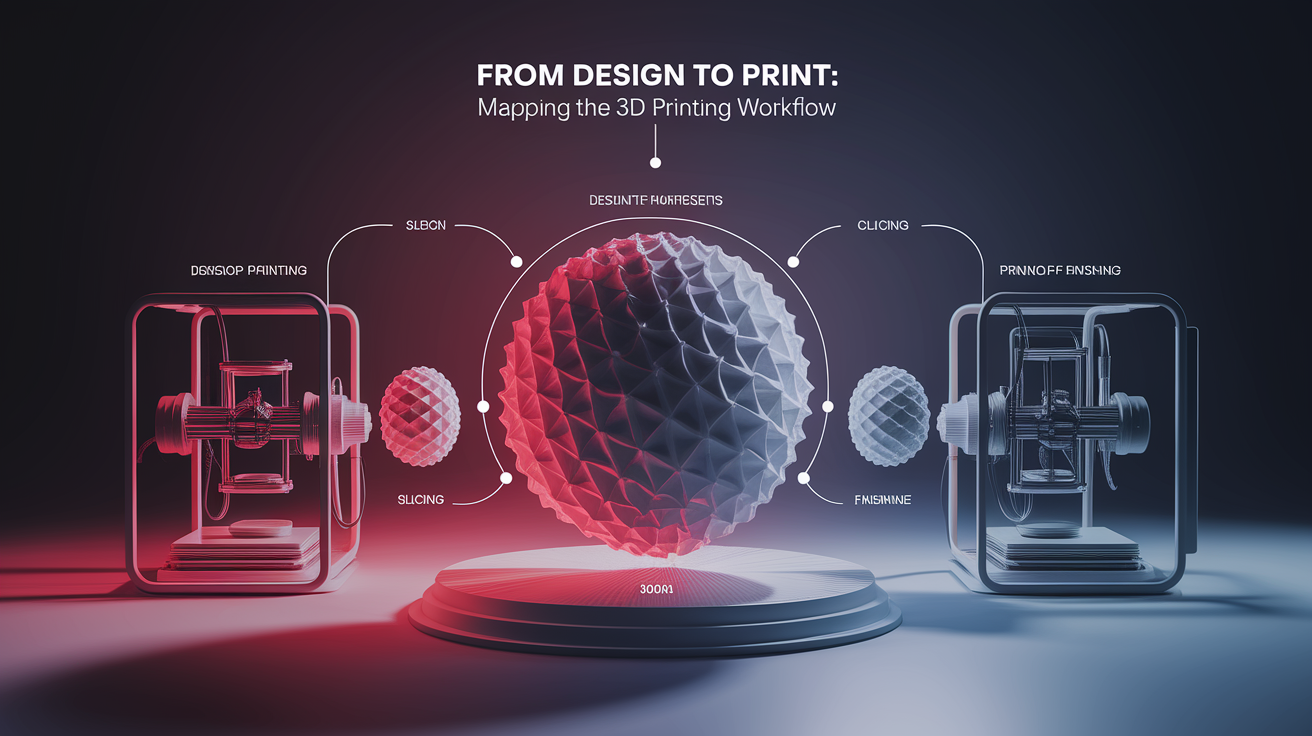
- Design: Create a 3D model using CAD software. This can be an original design or downloaded from an online repository.
- Slicing: Use slicing software to divide the model into thin horizontal layers. The slicer creates a G-code file containing instructions for movement, temperature, and material flow.
- Printer Setup: Load filament or resin, level the print bed, and preheat necessary components like the nozzle and heated bed.
- Printing: The printer follows the G-code to deposit or solidify material layer by layer.
- Post-Processing: Remove supports, cure resin, or smooth surfaces for the final look.
Building Layer by Layer: How the Printer Deposits Material
One of the most fascinating aspects of 3D printing is the layer-by-layer approach. Imagine stacking ultra-thin sheets of paper, each shaped precisely to match a cross-section of your design. In printing:
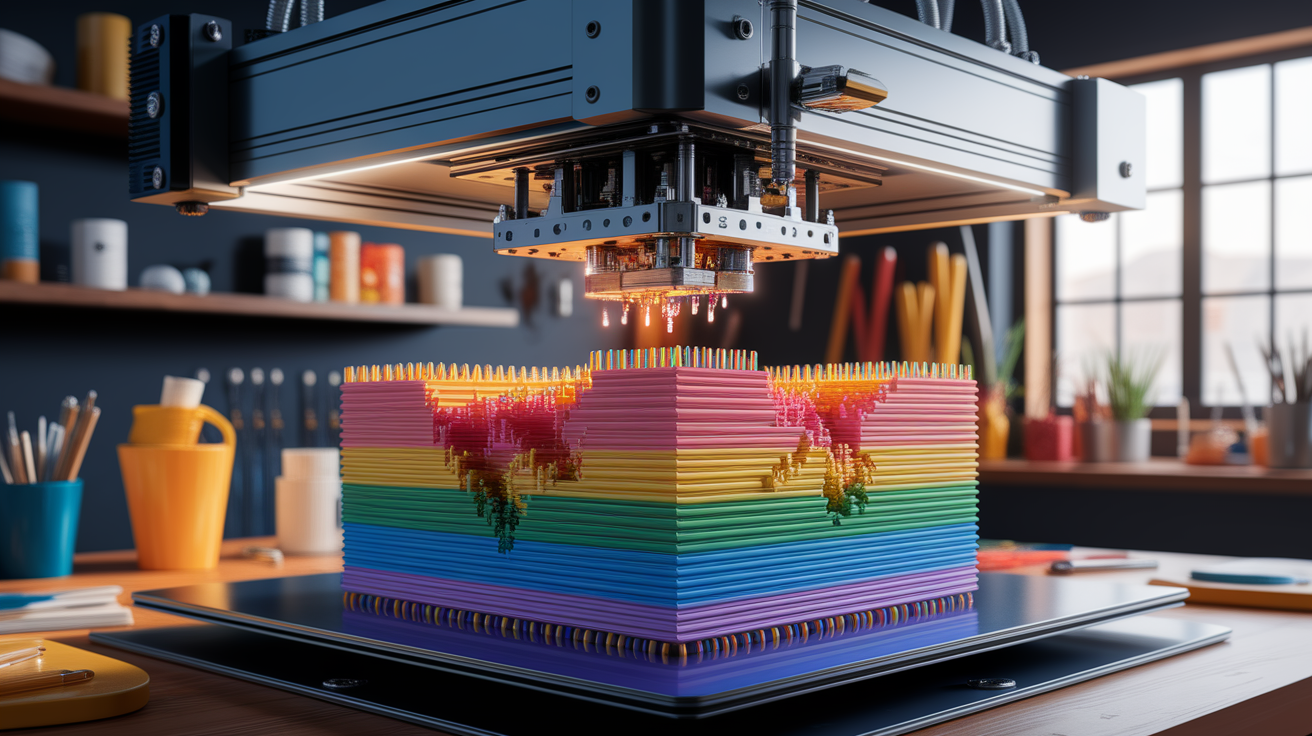
- The extruder or laser moves along the X and Y axes to draw a layer’s pattern while the Z-axis moves the bed or toolhead up or down.
- In FDM, melted plastic is extruded; in SLA, a laser cures resin; in SLS, a laser fuses powdered material.
- The process repeats, with each new layer firmly bonding to the one below it, until the final object emerges.
Printing Technologies at a Glance
There’s more than one way to bring a digital model into the real world. Common methods include:
- Fused Deposition Modeling (FDM): Melts and deposits thermoplastic filament through a nozzle. Affordable and popular for desktop 3D printers.
- Stereolithography (SLA): Uses a UV laser to solidify photosensitive resin, producing smooth, highly detailed prints.
- Selective Laser Sintering (SLS): Fuses powdered plastic or metal layer by layer with a laser, often without needing support structures.
- Material Jetting/Binder Jetting: Jets droplets of material or binder onto powder beds, then cures them with light or heat.
For a deeper dive into these methods, check out the detailed guide on FDM, SLA, and SLS technologies.
Materials Matter: Choosing the Right Feedstock
Just like a chef chooses ingredients based on the recipe, a 3D printing project depends on the right material:

- Thermoplastics (PLA, ABS, PETG): Common in FDM printing, these filaments differ in strength, flexibility, and heat resistance.
- Photopolymers: Liquid resins for SLA printing, known for detail and surface finish.
- Powders: Plastic, metal, or ceramics used in methods like SLS or Direct Metal Laser Sintering (DMLS).
- Metals: For high-strength parts in industrial applications using specialized printers.
Material choice affects printing speed, resolution, and post-processing needs. You can learn more about different materials for various printing methods and when to use each.
Post-Processing Essentials
Once printing finishes, your object may still need a little TLC:
- Support Removal: Any temporary support structures used during printing are carefully detached.
- Sanding/Finishing: Smooth surfaces to improve look and feel.
- Curing: In resin printing, additional UV exposure strengthens the object.
- Painting or Coating: For protection, aesthetics, or functional surface properties.
Beyond the Layers: Your Next Steps in 3D Printing
Now that you know how 3D printers create objects, you might be inspired to try one yourself. Start with a desktop FDM printer to learn the basics of bed leveling, printing temperature, and print quality. As you gain confidence, explore other methods like SLA for fine detail or SLS for strong, complex shapes without supports. With each experiment, you’ll see the magic of turning digital dreams into tangible reality—one fascinating layer at a time.